Our Hanging Flower Branch was first created as nursery décor, but it is perfect for many rooms in your house and can also be used as a decorative backdrop for events and celebrations. With minimal supplies and just a little time, you can create this DIY dreamy look!
I LOVE these branches, which you can purchase at Michaels Stores (I live in Florida and birch trees are not in abundance). They are clean, come in different dimensions, and are straight-cut on each end. You can use any type of straight bar-like item, such as a dowel, but these branches are my favorite.
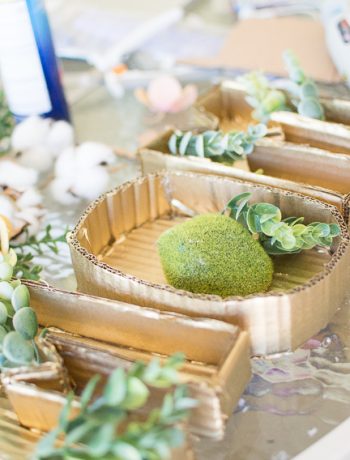
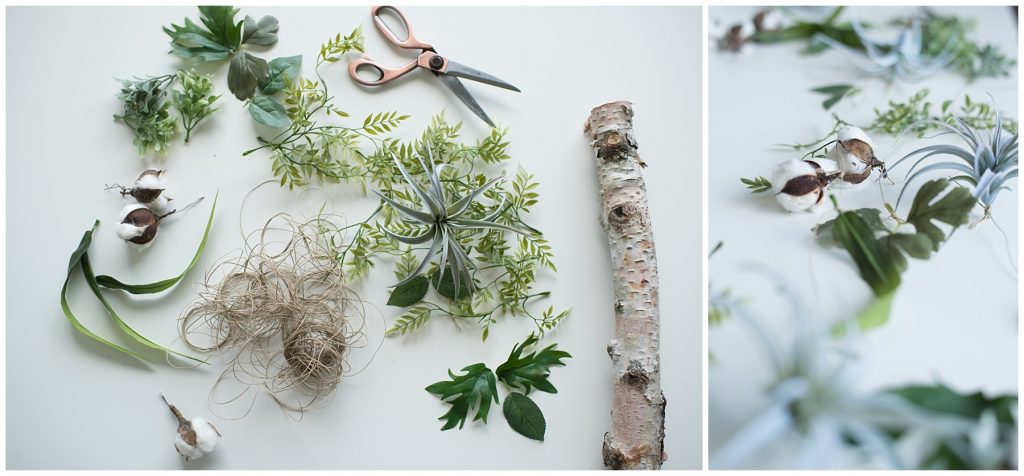
You can get lost in the silk flowers, so go into the store knowing what color scheme you want. For this project, I wanted neutral greens with hints of blue and a lot of natural elements. I chose cotton, air plants, and a ton of different-shaped greens for varying textures. Be sure to pick up your jute/ fishing line or whatever you would like to use to hang your silks. I’ll go step by step for you in the following photos to guide you through this whimsical project.
View our printable recipe at the bottom of this post to keep the instructions handy!
How-to make the hanging flower branch
We gathered our supplies from Michaels- all silk/faux flowers and greenery, the jute for handing and this WONDERFUL birch branch!
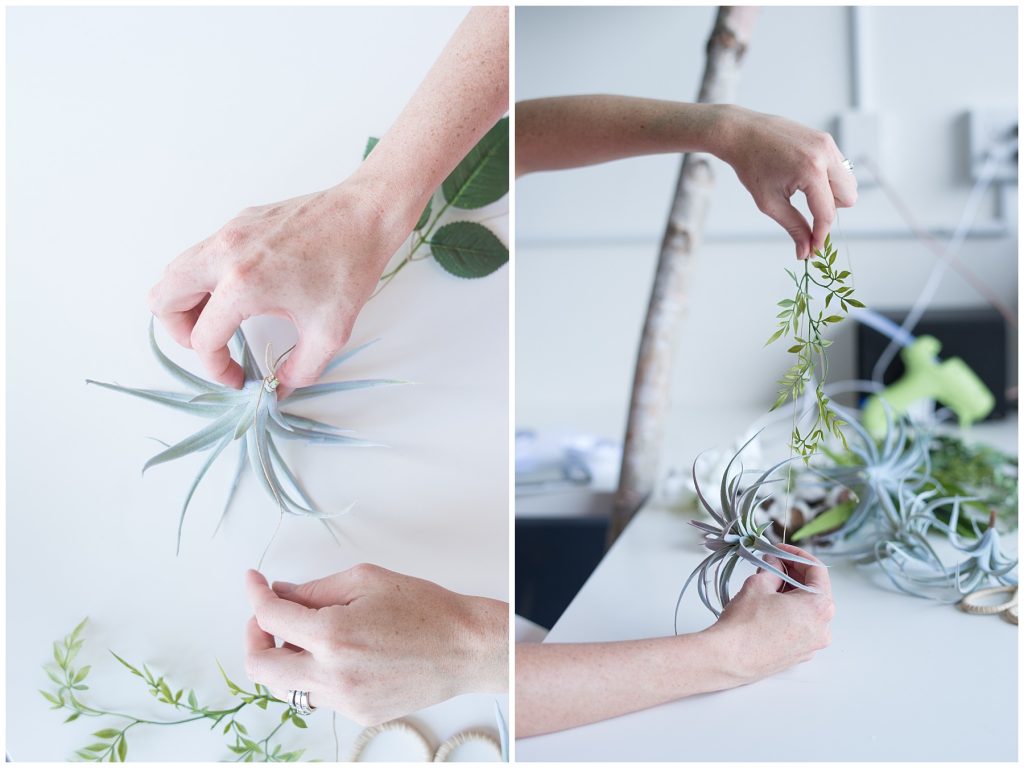
Start with taking your silk flowers- and pluck all of the flowers and greens off of the stems.
Group your silks into groups.

Cut your first length of jute or string to your desired length (leave extra length).
Leave about 6″ to 8″ of jute (this is to tie around your branch)

Attach your first flower/leaf by tying a knot around the base. Leave a few inches (or as much or as little as you would like) after. Attach another flower/leaf. Think about how you would like your strings to hang- you may want additional or less space between your flowers/leaves.

Tie and Repeat. Add a different shape/color/texture to create an interest when it hangs.

Keep repeating this until you are at the end of your line (whatever you are using to tie and hang your flowers/greenery)- check as you go.
Keep tying, keep repeating!

Once all of your strands are tied with your beautiful flower/ greenery- lay them out on the branch. This way you can move/ adjust etc before you attach.

I like to make sure my bigger pieces are not near each other. I added on this short strand seen below to add some interest with lengths.

When all is in place where you desire- simply tie onto the branch.

Isn’t it beautiful?! Such a gorgeous end result.
Share your creations with me #shareyourglitter
[sp_recipe]